Final Cut Pro Converter for Mac — Convert Any Footage for Final Cut Pro X
Final Cut Pro Converter for Mac is purpose-built to make media prep painless: transcode any camera, drone or downloaded footage
into Final Cut Pro-friendly formats (Apple ProRes, MOV/H.264, MP4, AIFF audio, etc.). This guide emphasizes practical, step-by-step
conversion workflows so editors, videographers and content creators can get clips from card to timeline fast — with correct codecs,
audio mapping, frame rates and quality preserved.
 Final Cut Pro Converter for Mac — official product banner (Aiseesoft-hosted).
Quick Overview — What This Converter Solves
While Final Cut Pro X supports many formats, inconsistent containers, variable frame rates, unsupported audio channel configurations,
or obscure codecs (MXF, XAVC, some DSLR wrappers) can cause import failures, audio sync drift or slow timeline playback. This tool:
- Transcodes awkward or unsupported footage to Final Cut Pro-native formats (ProRes, H.264 MOV, etc.).
- Batch processes camera cards so you can start editing immediately (no manual per-clip conversion).
- Preserves frame rate, resolution and audio configuration when required — or rewraps for compatibility.
- Offers basic trimming/merge tools to reduce clip-count and speed ingest organization.
Real Product Screenshots (Interface & Workflow)
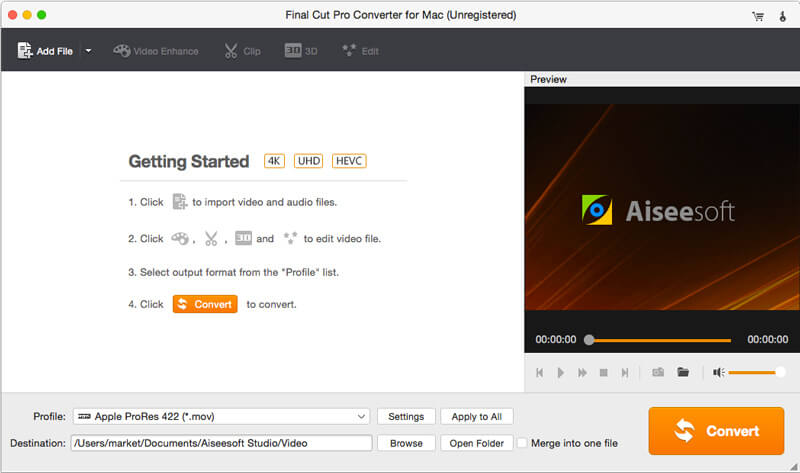
Main interface: import clips, pick output profile (ProRes/MOV), and monitor preview on the right.
Conversion-Focused Features (At a Glance)
- ProRes support: Apple ProRes 422/422 HQ/4444 for high-quality editing masters.
- H.264/H.265 MOV: Smaller delivery files but compatible with FCP timelines for quick edits.
- Batch conversion: Queue entire camera cards and run overnight — organized output folders make import into FCP effortless.
- Frame rate & resolution matching: Preserve native clip parameters or set target values when required.
- Audio mapping & sample rate control: Normalize to 48 kHz and select channel mapping suitable for your project.
- Basic pre-edit tools: Trim, crop, merge, and light enhancement options to reduce timeline housekeeping.
Supported Inputs & Outputs (Practical List)
Common Inputs
MP4, MOV, M4V, MKV, AVI, WMV, MXF, MTS/M2TS (AVCHD), XAVC, DVR/Pro formats, DSLR H.264 files and more.
Final Cut Pro-Friendly Outputs
Apple ProRes 422 / 422 LT / 422 HQ / 4444 (.mov), H.264/MOV, AIFF/WAV for audio exports, and optimized MP4 for delivery.
Device/Service Presets
Presets for iPhone/iPad/Apple TV, YouTube/Vimeo, and other common targets — useful for quick exports when not editing further.
Step-by-Step Workflow — Convert Footage for Final Cut Pro
Below is a practical conversion workflow with screenshots — designed for editors who need to transcode many clips reliably and quickly.
Step 1 — Install & Launch
Download and install the Final Cut Pro Converter for Mac (installer available on the product page). Launch the app and you’ll land in the main import window where you can add files or folders.
Step 2 — Add Media (Single Clips or Card Folders)
Click Add File or drag & drop entire folders (recommended for camera cards, as sidecar metadata and clip folder structure are preserved). Organize clip order by dragging thumbnails in the list.
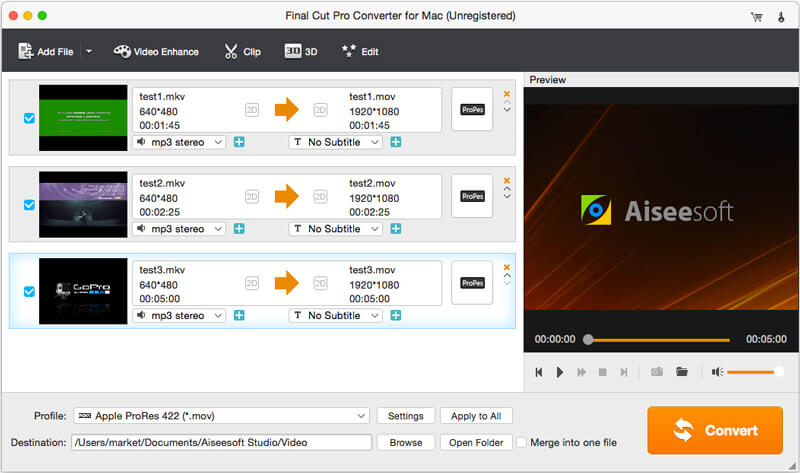
Add files or folders — each row shows source and target preview, helpful when batching conversions.
Step 3 — Choose the Output Profile (ProRes for Editing)
Open the Profile menu and navigate to the Final Cut Pro or QuickTime Movie categories. For high-quality editing, select an Apple ProRes preset (ProRes 422 / 422 HQ / 4444). For quick turnaround, choose H.264 MOV or MP4. Use the Search box in the profile dialog to find "ProRes" quickly.
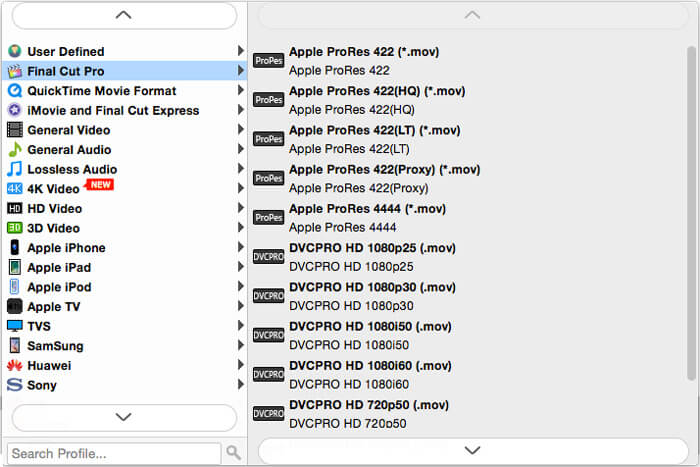
Profile dialog — choose ProRes or other FCP-optimized presets. ProRes is preferred for heavy post work.
Step 4 — Match Project Parameters (Advanced Settings)
Click Settings beside the profile selector. Important options to verify:
- Resolution: Keep native resolution (e.g., 1920×1080, 3840×2160) unless you intentionally downscale.
- Frame Rate: Preserve native frame rate (23.98 / 24 / 25 / 29.97 / 30 / 50 / 60 fps) to avoid audio sync drift.
- Bit Depth / Codec: Use ProRes 422 HQ or ProRes 4444 for finishing masters; ProRes Proxy for offline workflows.
- Audio: Set sample rate to 48 kHz and choose correct channel mapping (stereo/mono) as your FCP project requires.
Step 5 — Optional: Trim, Merge, or Enhance Before Transcoding
If you want to remove extraneous heads/tails, merge consecutives takes, or apply light enhancement (de-noise, upscale, brightness), use the built-in edit controls before converting — this reduces timeline cleanup time in FCP.
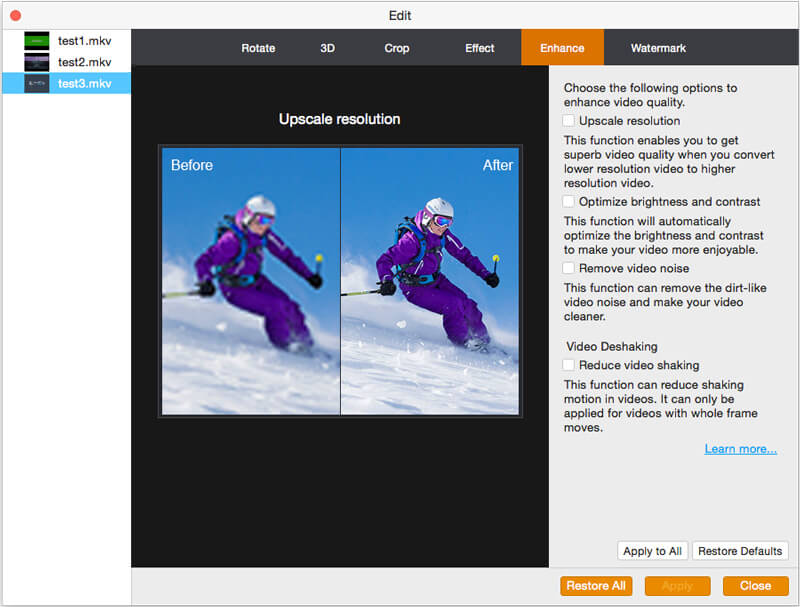
Enhance tools: upscale resolution, optimize brightness & contrast, remove noise — useful for improving older footage prior to editing.
Step 6 — Set Output Folder & Batch Naming Convention
Choose a logical output folder structure (ProjectName/Day1/CAM_A) and use consistent file naming (e.g., Event_001_PRORES.mov). This makes creating Events and Projects in Final Cut Pro quick and organized.
Step 7 — Start Conversion & Monitor Progress
Click Convert (or Convert All) to begin. The progress window shows per-file progress and overall queue status. For large ProRes jobs, conversions will take longer and produce large files — plan storage accordingly.
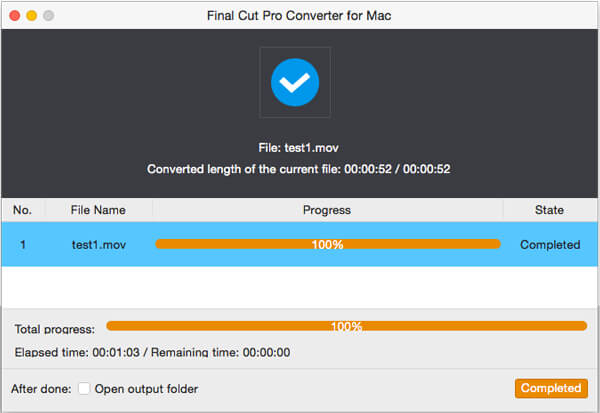
Conversion progress and completion screen — review and open output folder directly from the app.
Post-Conversion — Importing into Final Cut Pro
In Final Cut Pro, create a new Library or Event, then use File → Import → Media and point to your organized output folder. Choose the appropriate Optimized/Proxy settings if you created ProRes Proxy or full ProRes masters. Final Cut will index and create thumbnails; long ProRes files typically play back smoothly without rendering.
Practical Tips & Troubleshooting
- Audio Drift: If you see sync drift, check the original file for variable frame rate (VFR). Re-encode to constant frame rate (CFR) equal to the project fps.
- Large Files: ProRes HQ creates large masters — use Proxy for editing and relink to HQ for grade/export if storage is a concern.
- Metadata & Sidecars: When working with MXF/XAVC, import full camera folders (not single files) to preserve metadata and timecodes.
- GPU Acceleration: Enable hardware acceleration (if available) for H.264/H.265 to speed conversion — note ProRes is typically software encoded but optimized on modern Macs.
Pros & Cons (Short Summary)
Pros
- Clear FCP presets including Apple ProRes family.
- Batch conversion that fits professional card-to-timeline workflows.
- Useful pre-edit trimming & basic enhancement tools.
- Hotlink-ready UI for quick profile selection and conversion monitoring.
Cons
- ProRes outputs are large — ensure adequate disk space.
- Not a substitute for a full NLE for complex editing or multicam workflows.
Frequently Asked Questions
Q: Which format should I choose for Final Cut Pro?
A: For heavy grading or effects, choose Apple ProRes (422 HQ or 4444). For fast cuts and small files, choose MOV (H.264) or MP4 and consider creating proxies for editing.
Q: Can I convert MXF or XAVC files?
A: Yes. Import the full clip folder when possible and transcode to ProRes for the smoothest Final Cut workflow.
Q: Will this keep original timecode?
A: Timecode retention depends on source format and whether sidecar metadata is included. Import full clip folders to improve the chance of preserving timecode.
Conclusion — Spend Less Time Prepping, More Time Editing
A short conversion step before ingestion simplifies most editor workflows. Use Apple ProRes when you need ultimate fidelity, H.264/MOV for speed, and consistent folder naming/structure to keep your Final Cut Projects tidy. This Final Cut Pro Converter for Mac gives editors a reliable, batch-friendly way to get camera cards ready for real work — fewer import errors, smoother playback and a cleaner timeline.